Webhook Development & Testing
What is a webhook?
A webhook is an asynchronous communication method where one application (the producer) triggers automatic data delivery or event notification to another application (the consumer) through HTTP requests. This is a popular integration method that typically uses the HTTP POST method to send a payload from the producer application to the consumer application.
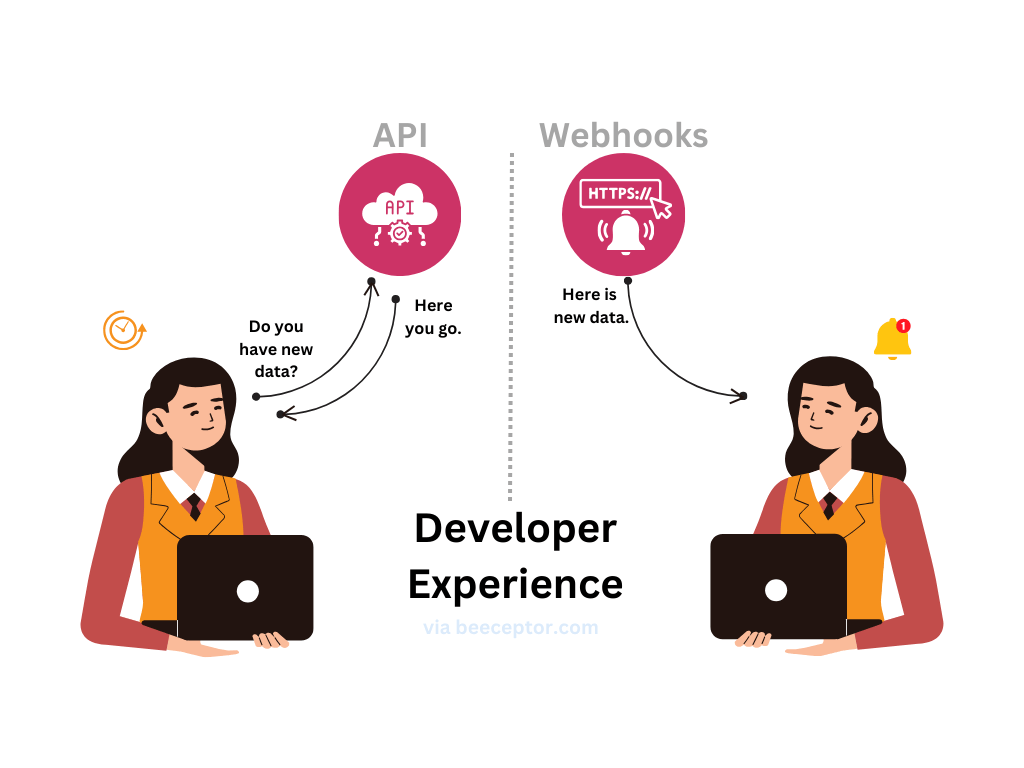
In software integrations and data sync, we have two fundamental behaviors: push and pull.
| Push (e.g. Webhooks) | Pull (e.g. API Calls) | |
|---|---|---|
| Description | The sender actively transmits data to the consumer when an event occurs. | The consumer periodically queries the sender's server for new data. |
| Advantages | Real-time updates without constant queries. | Can be scheduled at convenient times, reducing server load. |
| Disadvantages | Requires the consumer's server to be always ready for incoming data. | May lead to delays in data updates as it depends on the polling frequency. |
Over the last few years, with preference to microservices and decoupled architecture, webhooks have become a modern integration pattern, enabling real-time data transfer and event-driven interactions and found with many SaaS applications. However, developers face challenges in their development and testing environments. In this article, we'll delve into the intricacies of webhook development and testing, explore the common challenges developers encounter, and introduce Beeceptor, a powerful tool that streamlines the entire process.
How Webhook Works
At the core of every webhook interaction are two integral players:
-
Producer: Armed with fresh data, the sender initiates the interaction by dispatching the payload to an expectant party.
-
Consumer: Eagerly awaiting the incoming data, the consumer stands ready to receive and potentially take action based on the received information.
A successful webhook transmission hinges on the sender making an HTTP call to a predefined URL on the consumer's side. Typically, this call employs the POST method, with a JSON object nestled within the request body. Upon receiving the data, the consumer's server responds with a 200 OK status code. This is a thumbs-up, kind of acknowledgement for the receipt of data. The consumer can decide to process it right away or at later stage.
Challenges
This seemingly straightforward looking process is not without its challenges. Let's explore some key aspects and how Beeceptor can alleviate potential hurdles.
Discovery Of Payloads & Inspection
Discovering and inspecting payloads within a service can pose significant challenges, particularly when the service documentation lacks comprehensive information about webhook payload samples. This information gap necessitates an exploratory approach to uncover the behavior of the service.
Beeceptor acts as an asynchronous event receiver, offering a comprehensive view of incoming event data. This is incredibly valuable, as you can review and analyze event components like headers and payloads. When you trigger events in an application where Beeceptor endpoint is configured as the event receiver, they are received at Beeceptor and stored for the duration of your development, giving you easy access for review and analysis.
Public Endpoint & Frequent Redeployment Of Service
During the developmental phase of your webhook consumer service, it's often necessary to host it at a publicly accessible endpoint for integration testing. However, in certain software teams or companies, acquiring a public endpoint can be a time-consuming and bureaucratic process. This requirement can introduce additional delay in the project timeline.
Local tunnel is one technique seasoned developers use to overcome this challenge. It lets you route incoming payloads from third-party services to your local endpoint via a public HTTP endpoint like Beeceptor. This is particularly useful for testing webhook consumers without requiring constant redeployment.
While some services like Stripe provide CLI tools to route requests from sandbox environments to localhost, Beeceptor's local tunneling can serve as a versatile drop-in replacement for services lacking such capabilities.
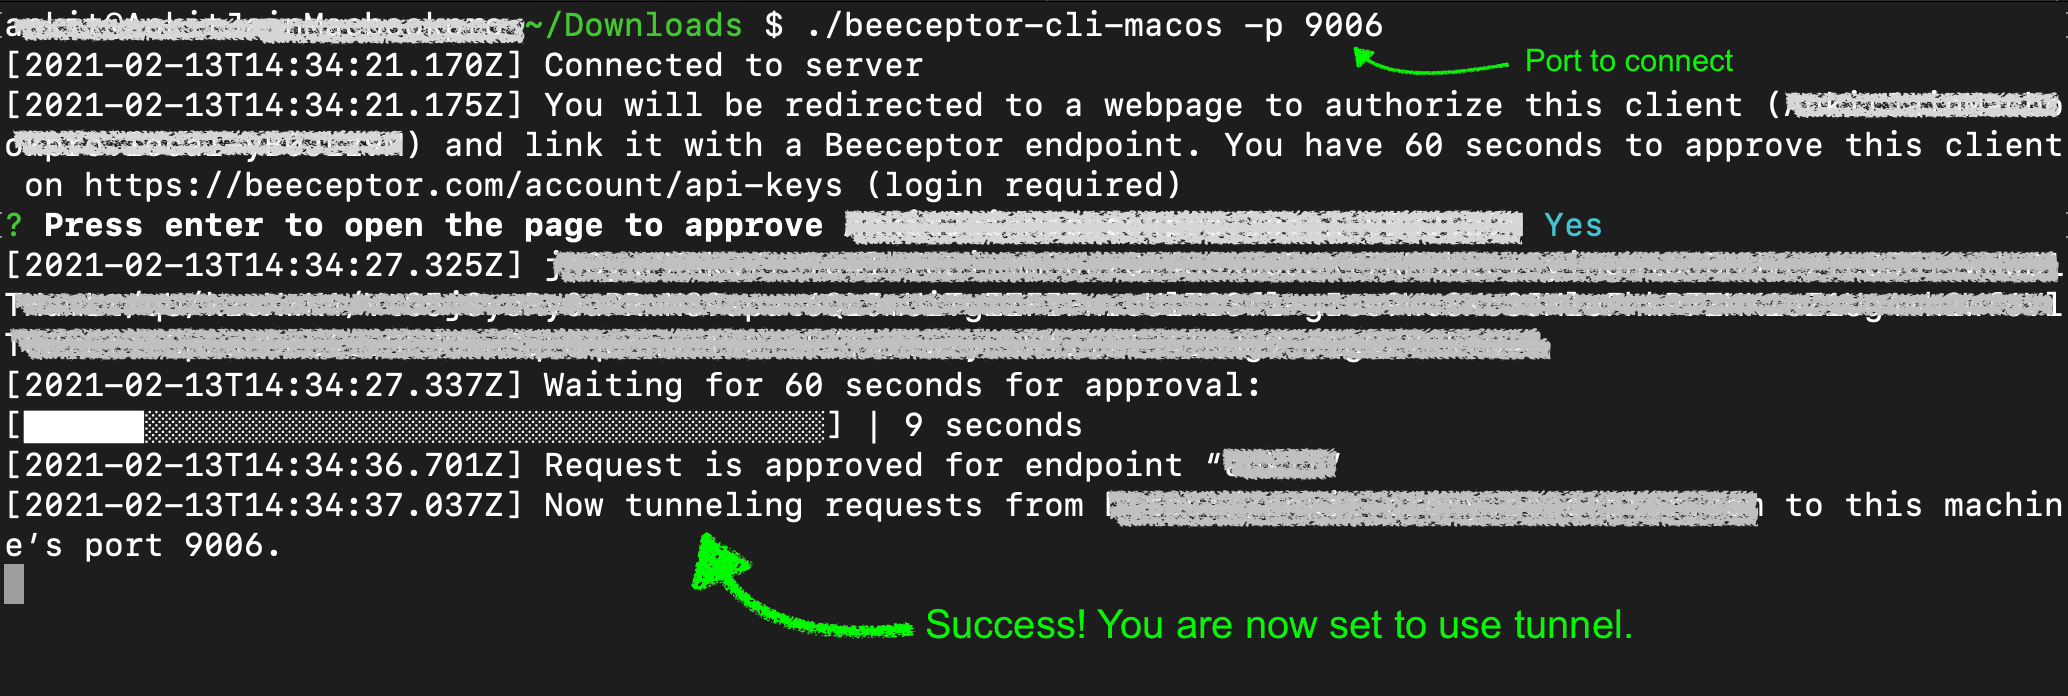
Step-by-Step Guide to Local Tunneling with Beeceptor
-
Create an HTTP Endpoint: Start by setting up a Beeceptor endpoint to act as a bridge between third-party service and your local development environment.
-
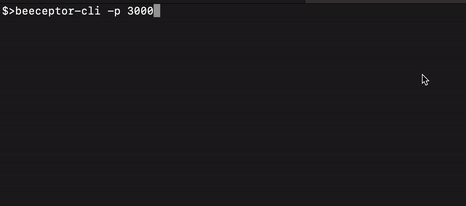
Configure Local Tunneling: Download Beeceptor CLI and start a local tunneling. This will bind a port on localhost with Beeceptor endpoint. A connection between the third-party service and your localhost port will be established now.
-
Test and Iterate Locally: With the tunnel established, incoming payloads from the third-party service will be directed to your local endpoint. Any response sent from your service is routed back to the third-party service. You can now test and iterate on consumer-service in real-time, all without the hassle of redeployment and needing a server.